Fermentation Safety for Beginners: Avoiding Spoilage
As an Amazon Associate I earn from qualifying purchases. This page contains affiliate links — if you buy through them, I earn a small commission at no extra cost to you.
That moment when you open a fermentation jar and spot a white film drifting on the surface can stop any beginner in their tracks. The good news? It’s usually harmless, and with a handful of clear rules, you can keep it that way. I’ll show you how to tell a happy ferment from a risky one, why the science backs it up, and which simple steps stop spoilage before it even starts. By the end, you’ll feel confident enough to pop the lid, give it a sniff, and know exactly what to do next.
The Science of Safety (LABs vs. Bad Bacteria)
Lactic Acid Bacteria – or LABs, as the textbooks call them – are the unsung heroes of every jar of sauerkraut, kimchi or pickled carrot you’ll ever make. They thrive in salty, oxygen‑free environments and churn out lactic acid, which drops the pH to around 3.5–4.0. That acid is the bodyguard that keeps the nasties at bay. The Food Standards Agency (FSA) confirms that once the pH falls below 4.5, most harmful pathogens, including Clostridium botulinum, can’t grow.
The honest answer is, the acid, not the salt, does the heavy lifting. Salt’s job is to draw water out of the vegetables, creating the brine that lets the LABs work unhindered and also keeps unwanted aerobic microbes from taking over. When the brine is too thin or the jar isn’t sealed, oxygen slips in, and the balance tips – you end up with mould or off‑flavours instead of that pleasant funk.
I learned this the hard way when my first attempt at fermented beetroot went flat because I under‑salted the batch. The beet turned mushy, the brine was barely a splash, and a thin film of mould blossomed on the surface. A proper 2‑3 % salt solution would have kept the environment acidic enough for the LABs to dominate.
The “Big Three” Safety Rules
These three rules are your bedrock for safe, delicious ferments.
| Rule | What to do | Why it matters |
|---|---|---|
| 1. Salt Concentration | Aim for 2‑3 % salt by weight (about 20 g of sea salt per litre of water). Use non‑iodised sea salt or pickling salt. | Provides the right osmotic pressure for LABs and discourages unwanted microbes. |
| 2. Temperature | Keep fermenting jars at 1‑5 °C for beginners – the fridge is your safest bet. | Slower, steady fermentation keeps the pH dropping consistently and reduces the chance of spoilage. |
| 3. Oxygen Control | Pack vegetables tightly, keep them fully submerged, and use a proper lid or an airlock. | Anaerobic conditions starve mould‑forming moulds and keep the LABs happy. |
I still remember the first time I tried to ferment a batch of kimchi on the kitchen bench in August. The kitchen was hovering at 22 °C, and within two days the jar was bubbling like a science‑fair volcano. The rapid rise pushed the pH down too fast, and a thin layer of green mould appeared on the surface. Moving the jar to the fridge the next day stopped the mould, but the texture was ruined. For most of us, especially in the UK where the average fridge sits around 4 °C, that cool spot is the easiest way to stay in the “happy zone”.
If you need a quick reference for salt ratios, have a look at my How to Make Sauerkraut guide – it walks you through the maths with a simple spreadsheet.
So, you’ve got your salt right and your jar sealed. But how do you actually tell if your ferment is safe and happy? First, check that the vegetables are fully submerged under a clear brine; any exposed surface should be covered with a weight or a clean cabbage leaf. Second, look for a pleasant, tangy aroma – a sour, slightly funky smell is normal, while a rotten or sulphuric odour signals trouble. Third, inspect the colour and texture: a white, powdery film (kahm yeast) is harmless and can be skimmed off, but any green, black or blue mould means you need to cut away the affected area or discard the batch. Finally, confirm the temperature is within 1‑5 °C if you’re using a fridge; this keeps the pH dropping steadily and the LABs in control.
How Can You Spot Spoilage (Visual, Smell, Texture)?
When checking your ferment, the most common newcomer is kahm yeast – a thin, white, sometimes slightly fuzzy film that forms on the surface. It’s a sign the brine is acidic and the LABs are doing their job, so just lift it off with a clean spoon. Real mould, however, shows up as green, black, blue or purple patches, often with a fuzzy or slimy texture. If you see any of those colours, it’s a red flag.
Smell cues: A properly fermenting jar should smell tangy, a bit like sauerkraut or a light sourdough starter – that “funky” note is exactly what you want. If the aroma turns sour‑sweet, like overripe fruit, or reeks of rot, sulphur or nail polish remover, the batch has likely gone off.
Texture cues: The vegetables should stay crisp or develop a pleasant slight softness. A sudden mushy spot, especially on cabbage leaves, often indicates an anaerobic breach that allowed unwanted microbes to proliferate. Soft spots on hard veg – think carrots or radishes – can sometimes be salvaged, but you’ll need to cut around them (see the troubleshooting section).
I once opened a jar of fermented carrots only to find a few soft, brown patches at the bottom. I was tempted to toss the whole thing, but a quick cut‑away of the affected area saved the rest of the batch. The lesson? Always give the jar a visual once a day; the sooner you spot a problem, the easier it is to rescue the good bits.
Troubleshooting: The “Soft Spot” Dilemma
When a vegetable develops a soft, brown area, the first rule of thumb is cut it out. For hard vegetables like carrots, parsnips or cucumbers, slice at least a centimetre (about ½ inch) around the spot – this usually removes any hidden mould spores while preserving the rest of the jar. For soft vegetables such as cabbage or kale, the safest route is to discard the whole batch if you notice any mushy, discoloured sections; the dense foliage makes it hard to be sure the spoilage hasn’t spread.
If the jar smells off, do a tiny taste test – a single spoonful, then spit it out. A sour, clean flavour means you’re still in the clear; a foul, putrid taste is a cue to bin it. Remember, the extra step of a taste test is a bit of a faff, but it’s worth it to avoid a nasty surprise later.
A reader emailed me after seeing a small black speck on her fermented beetroot. She was panicking, but after I explained the “cut‑around” rule, she salvaged most of the batch by trimming around the spot. The honest answer is, most “soft spot” issues are hit‑and‑miss, but the rule of cutting away any suspect area gives you the best chance of keeping the rest safe.
Equipment Safety: Vessels and Airlocks
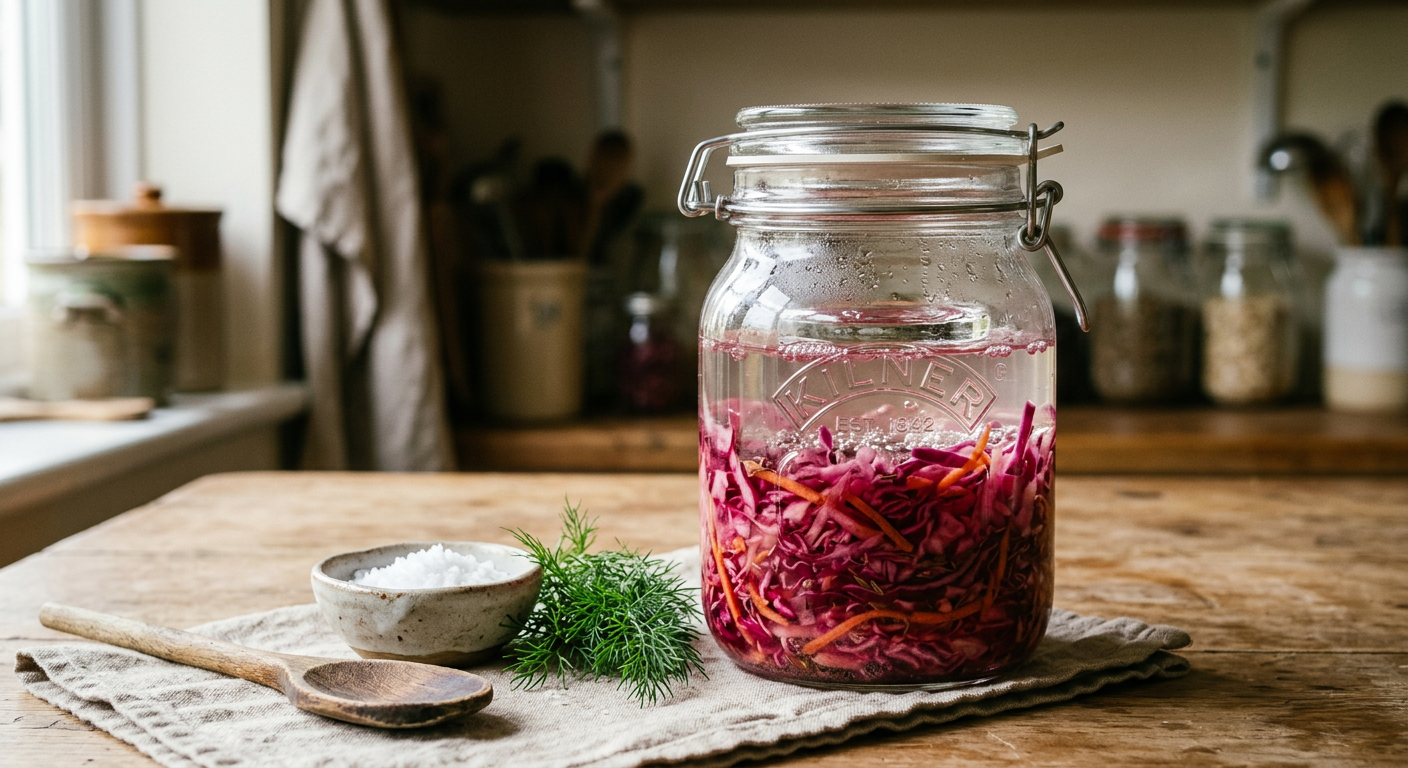
Vessel material matters. Non‑porous containers – classic glass Kilner jars or food‑grade PET plastic – are worth their salt. They don’t harbour hidden microbes and let you see the brine level at a glance. Avoid earthenware or low‑grade plastics that can leach or develop micro‑cracks where bacteria hide.
Airlocks versus loose lids. An airlock lets carbon dioxide escape while keeping oxygen out, which is the ideal “belt and braces” solution for longer ferments. If you’re just starting out, a tight‑fitting lid with a piece of food‑grade weight (a clean stone or a small glass jar) works fine, as long as you “burp the jar” daily for the first week to release excess pressure.
Fridge temperature check. Many UK fridges are set around 5–7 °C, which is a tad warm for a beginner’s ferment. Slip a cheap fridge thermometer in the door shelf; aim for 1‑5 °C. If yours is too warm, move the jars to the bottom shelf or a cooler part of the fridge (often the back). I once discovered my fridge was actually sitting at 8 °C because the door seal was faulty – a quick replacement sorted the issue and saved a batch of kimchi that was flirting with the danger zone. (You can read more about my fermentation journey and common mishaps here).
For a reliable starter set, I’ve been using the Kilner Fermentation Jar Set (paid link) – roughly £15–£25 for the basic three‑jar kit. The jars are thick‑walled, the lids have an airlock insert, and the whole lot feels spot on for a home kitchen. You can grab them in the Best Fermentation Jars UK range.
Now that you know what to look for, you can download the Free Fermentation Starter Checklist – it walks you through each of these safety steps so you never miss a beat.
Frequently Asked Questions
Is it normal for sauerkraut to bubble?
Absolutely. Bubbles mean the LABs are active, producing carbon dioxide as they turn the cabbage into sauerkraut. It’s a sign of healthy fermentation, not a danger sign – just make sure the jar isn’t sealed too tightly, or you might need to “burp” it once a day.
What is the white film on top of my jar?
That’s usually kahm yeast – a harmless, powdery white layer that forms when the brine is very acidic. Scoop it off with a clean spoon; the vegetables underneath are still fine. If the film turns coloured or fuzzy, you’re looking at mould instead.
Can I use table salt for fermentation?
No, stick to non‑iodised sea salt or pickling salt. Iodine can inhibit the LABs, and anti‑caking agents in table salt may cloud the brine. A good rule of thumb is to avoid any salt that lists “anti‑caking” on the label.
How do I know if my fridge is cold enough?
Pop a fridge thermometer on the middle shelf and wait a few hours. Aim for 1‑5 °C; most UK fridges sit around 4 °C, which is perfect. If yours reads higher, adjust the thermostat or move the jars to a cooler part of the fridge.
What if I see mould?
If it’s on a hard vegetable (carrot, cucumber), cut at least a centimetre around it and discard the slice. If it’s on a soft vegetable (cabbage, kale) or the mould has spread, the safest call is to bin the whole batch. Never taste anything that’s mould‑covered.
Fermentation Safety Checklist
| Check | Action | Target | Status |
|---|---|---|---|
| Salt Level | Weigh salt vs water | 2-3% by weight | ☐ |
| Temperature | Place thermometer | 1-5°C | ☐ |
| Oxygen | Submerge veg fully | No air gaps | ☐ |
| Vessel | Use glass or food-grade plastic | Non-porous | ☐ |
| Airlock | Use lid or airlock | CO2 escapes | ☐ |
| Daily Check | Visual & smell | No mould | ☐ |

Where to Go From Here
The key take‑aways are simple: keep a steady salt level, store your jars in a cool, oxygen‑free environment, and trust your senses. When you see a white film, a pleasant sour smell, and crisp texture, you’re on the right track. Spot a coloured patch, a rotten odour, or mushy spot? Act fast – cut, skim, or toss as needed.
All of these steps are laid out in a printable format that’s easy to keep on your fridge door. Download the Free Fermentation Starter Checklist now and give yourself a safety net for every batch you start.
If anything still feels fuzzy, drop me a line via the contact page – I’m always happy to help a fellow fermenter sort out a tricky jar. Happy fermenting, and may your brine stay clear and your flavours stay bold!
Related Guides
For a complete overview, see our Complete Guide to UK Vegetable Fermentation for Beginners.
Sources & Further Reading
- Food Standards Agency (FSA) - Acid foods and fermented foods
- National Centre for Biotechnology Information (NCBI) - Lactic Acid Bacteria
- Royal Society of Chemistry - Food Chemistry and Safety
As an Amazon Associate I earn from qualifying purchases. The products linked above are ones I would use or recommend on my own camps.
Note: This information is for general guidance only. Always verify specific safety details with a qualified professional or official source.