Fermented Beetroot & Carrot Recipe UK: Simple & Colourful
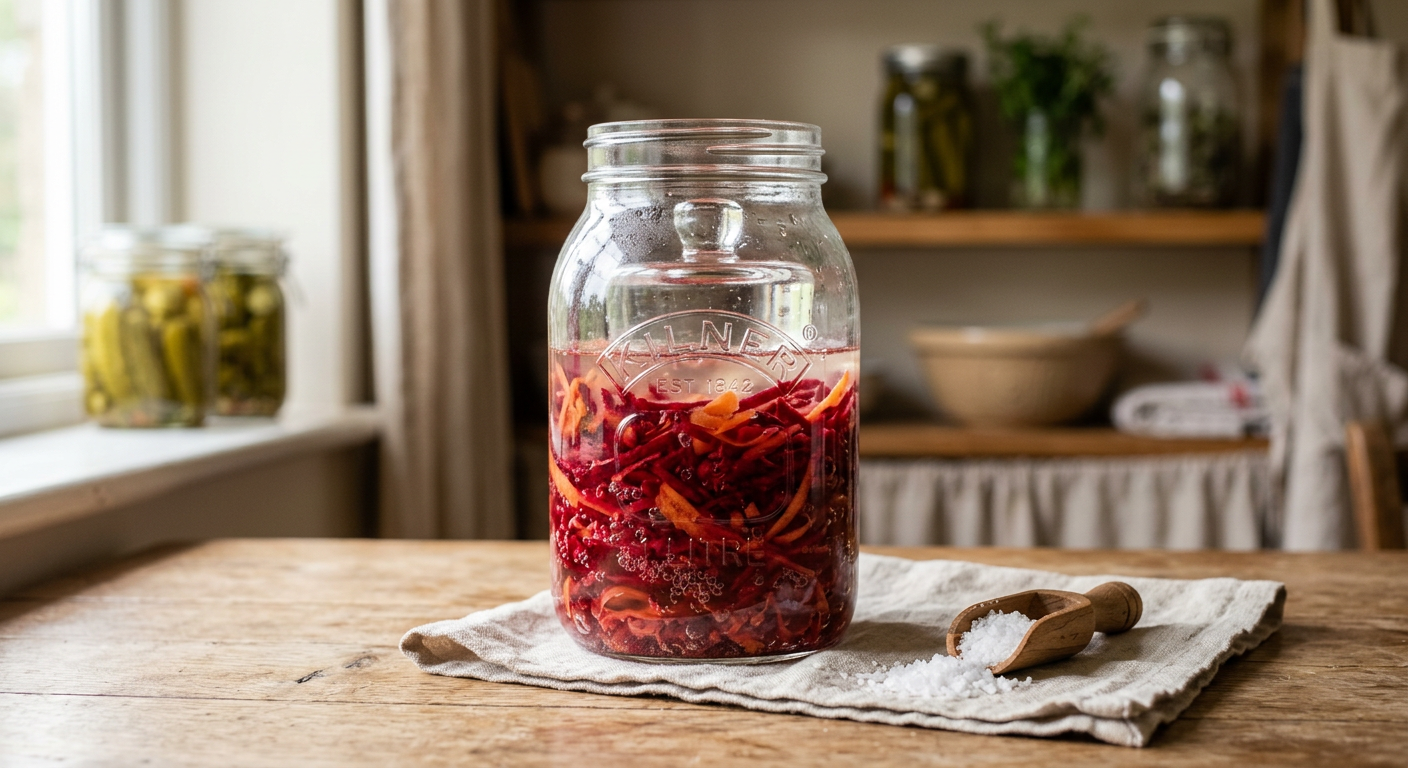
Forget bland boiled veg; imagine a jar of ruby-red beetroot and carrot in your fridge, alive with a faint, tangy fizz. This isn’t your average pickle – no harsh vinegar, just crisp, vibrant vegetables in their own lively brine. It’s a burst of colour and flavour that transforms a simple sandwich or a Sunday roast. I’ll show you exactly how to get this gorgeous fermented mix, using common UK ingredients and a jar that’ll happily sit in your British kitchen, even through winter.
Ready to skip the mould‑filled mishaps and get a reliable, tasty result? Download the Free Fermentation Starter Checklist – it’s the cheat‑sheet that kept me from mucky mistakes the first few times around the house.
Why This Recipe Works (UK Climate Adaptation)
Lacto‑fermentation is simply salt, water and time letting the naturally occurring bacteria turn sugars into lactic acid. The acid drops the pH, preserving the veg and giving that pleasant tang. It’s a method that’s been around for centuries, and when done right, it’s incredibly safe and delicious. For general guidance on fermented foods, the Food Standards Agency offers some sensible advice on food safety.
In the UK our kitchens tend to sit between 15 °C and 20 °C, often cooler than the warm US basements many American recipes assume. That means the microbes work a touch slower, which is actually a blessing – it reduces the risk of a rapid, uncontrolled rise in acidity that can taste harsh.
For UK home temperatures, aim for a 3‑5 day room‑temperature ferment before moving the jar to the fridge. This slower start lets the beet‑carrot mix develop flavour without the risk of mould, and the cooler fridge stage halts activity, preserving the crunch for up to four months.
Tip: Store the jar in a dark cupboard away from the oven or radiator. A steady, modest temperature (around 18 °C) gives a gentle, consistent fermentation and keeps the colour bright.
Equipment & Ingredients (UK Sourcing)
Ingredients
You don’t need anything fancy for this – just good quality produce and the right salt.
- Organic beetroot: 2‑3 medium beetroots, roughly the size of a tennis ball. Look for deep, unblemished skins at Tesco, Waitrose or your local farmers’ market.
- Carrots: 2‑3 medium, preferably from the same source for freshness.
- Sea salt: About 2 % of the total veg weight – roughly 2 tsp of fine sea salt works well. Maldon flakes are great for flavour, but can be harder to dissolve. Avoid iodised table salt; the iodine can inhibit the beneficial bacteria you want to encourage.
- Water: Tap water that’s stood uncovered for 24 hours to let chlorine evaporate, or filtered if you prefer. Chlorine in tap water can interfere with the fermentation process, slowing down or even stopping the good bacteria from doing their job.
Equipment
A few basic bits will get you sorted for ages.
- 1‑litre Kilner or Weck jar: Both give a solid seal and look tidy on the kitchen bench. Roughly £15–£25 for a basic model – worth the investment for repeat batches.
- Weight: A glass pickle pebble or a small clean stone to keep the veggies under the brine.
- Non‑metallic bowl & wooden spoon: For massaging the salt.
- Clip‑top lid or air‑lock: Clip‑top works fine for beginners; air‑locks are optional but handy for those who hate burping jars.
Quick sanity check: Before you start, give the jar a visual once‑over – any cracks or chips mean it’s not safe for a sealed ferment.
You can snag most of this gear at Fermentation Jars, and I’ve found the Kilner 1‑litre jar to be “worth its salt” for everyday use.
Step‑By‑Step Instructions
- Wash and scrub the beetroots and carrots under cold running water. No need to peel – the skins hold fibre and colour.
- Slice thinly – a mandoline gives even ribbons in minutes. If you don’t have one, a sharp chef’s knife works, just keep the pieces about 3 mm thick.
- Salt and massage: Toss the veg in a large bowl, sprinkle the sea salt, and massage for 3‑5 minutes until they start to sweat and release liquid. This is the brine forming naturally.
- Pack tightly into the jar, pressing down with a clean wooden spoon so the veg sit snugly. Leave roughly 2 inches of headspace at the top.
- Add water if the released brine isn’t enough to fully cover the veg. Use the pre‑stood tap water, pouring slowly until the vegetables are completely submerged.
- Weight it down with the glass pebble or clean stone. The goal is “under the brine” – any exposed piece is a mould invitation.
- Seal the jar – clip‑top down firmly or fit the air‑lock.
- Ferment: Place the jar in the cupboard, away from direct sunlight, for 3–5 days. Check daily: you should see tiny bubbles and a faint sour scent. If you spot white kahm yeast on the surface, just skim it off – it’s harmless.
Troubleshooting:
- Not bubbling? The temperature might be too low; move the jar to a slightly warmer spot (e.g., near the fridge door).
- Mould appears? That means part of the veg was exposed. Remove the mouldy piece, ensure everything is under the brine, and add a little extra salt water if needed. If it smells truly awful, like rotting meat, then it’s definitely mucked up and you need to bin it.
Now you know exactly what you need and how to avoid the classic pitfalls – download the Free Fermentation Starter Checklist to keep your process tidy from the first slice to the final jar.
Serving Suggestions (UK Meal Ideas)
These ideas keep the fermented mix in the spotlight rather than hiding it in a salad drawer.
- Roast dinner side: Toss a handful of the fermented mix into a warm roast veg tray for a colourful pop alongside beef or chicken.
- Cheese board boost: Pair the ruby slices with a sharp cheddar and some crusty oatcakes – the acidity cuts the richness beautifully.
- Beetroot & Carrot Hummus: Blend half a jar with a tin of chickpeas, a drizzle of olive oil, lemon juice, and a pinch of cumin. Spread on wholegrain toast for a vibrant snack.
- Jacket potato topping: Spoon the fermented veg over a baked potato, add a dollop of crème fraîche, and you’ve got a quick, tasty dinner.
Frequently Asked Questions
Can I use tap water?
Yes, you can use tap water. Just make sure you let it sit in an open jar for about 24 hours first. That lets any chlorine evaporate, which can otherwise slow down or inhibit the beneficial bacteria doing the fermenting.
My jar is leaking. Is it broken?
Not necessarily broken, but it’s definitely not sealing properly. Often the rubber seal is the culprit – if it’s dirty, warped, or missing a bit of lip, the seal won’t hold. Give it a good wash with warm soapy water, dry it, and give it a gentle squeeze to check the fit. Sometimes you just need a new rubber ring.
How long does it last?
Once you’ve moved the jar to the fridge, you can keep it for three to four months. The flavour will deepen over time, so taste it after a couple of weeks and decide if you want it sharper or prefer it milder.
What if I see white foam on top?
That’s usually kahm yeast – a harmless, slightly yeasty film that can taste a bit bitter. Just skim it off with a clean spoon and keep on fermenting; it won’t harm the batch. It’s a common sign of active fermentation.
Do I need an air‑lock?
Nope, you absolutely do not need an air-lock for this. A good clip‑top jar does the job perfectly well for beginners. The air‑lock is nice if you dislike burping jars, but it’s not essential for a 1‑litre batch.
Fermentation Timing Guide
| Phase | Duration | Temperature | Purpose |
|---|---|---|---|
| Room Temp Ferment | 3–5 Days | 15–20°C | Develops tang and flavour |
| Fridge Storage | 3–4 Months | <5°C | Preserves crunch and stops activity |
| Ideal Storage Spot | Ongoing | ~18°C (Dark Cupboard) | Consistent fermentation and bright colour |

Where to Go From Here
You’ve now got a colour‑packed, tangy jar of fermented beetroot and carrot that will add sparkle to any plate. The process is straightforward, but the real magic is in tweaking it – try a pinch of black peppercorns, a splash of apple cider vinegar for extra zing, or even a dash of horseradish for heat. You can find more ideas and experiments over on the blog.
If you’re keen to keep the momentum and avoid the little faffs that trip up many first‑timers, download the Free Fermentation Starter Checklist. It walks you through every step, from sanitising jars to spotting the perfect flavour window, so you can feel confident every time you pop a lid. You can also read a bit more about me and my fermentation journey.
Got a question or a quirky experiment you’re itching to share? Drop us a line on the contact page – we love hearing how you’ve made the recipe your own. Happy fermenting!
Related Guides
For a complete overview, see our Sauerkraut, Kimchi & Pickles: UK Beginner Recipes.
Sources & Further Reading
- Food Standards Agency - Fermented Foods
- Royal Horticultural Society - Vegetable Growing
- National Centre for Biotechnology Information - Lactic Acid Bacteria
Note: This information is for general guidance only. Always verify specific safety guidelines and storage times with a qualified professional or official source.