Lacto-Fermented Pickles Recipe UK: Crunchy & Delicious
Forget soggy shop-bought pickles – making your own crunchy, tangy lacto-fermented gherkins at home is far simpler than you might think. Even with a typical British summer inviting mould, a basic salt brine and a bit of patience will give you crisp, flavourful pickles that last for months. I’ve made every mistake, so I’ll show you the exact shortcuts to get it right in your UK kitchen, from choosing the best cucumbers to keeping everything perfectly crisp.
Ready to skip the guesswork? Grab the free Fermentation Starter Checklist – it spells out the exact brine ratios and safety steps you’ll need before you even turn on the tap.
What You Need: UK‑Specific Ingredients & Equipment
Choosing the right basics removes most of the trial‑and‑error. Here’s a quick “shopping list” you can tick off at Tesco, Sainsbury’s or your local Asian market.
- Cucumbers – Avoid the waxy English cucumber (the long, thin ones you see in the salad bar). They’re mostly water and turn to mush fast. Instead, look for “Pickling Cucumbers” or “Gherkins” – usually sold in the international aisle or labelled “pickling” in the produce section. They’re smaller, firmer and have a thicker skin that holds up to brine.
- Non‑iodised salt – Sea salt flakes (Maldon) or fine Himalayan pink salt. Iodine and anti‑caking agents can inhibit the lacto‑culture. For best results, use a pure salt without additives, as recommended by fermentation experts like those at Fermentation Association.
- Water – Tap water is fine if you let it sit for a few minutes to dissipate chlorine; otherwise use filtered.
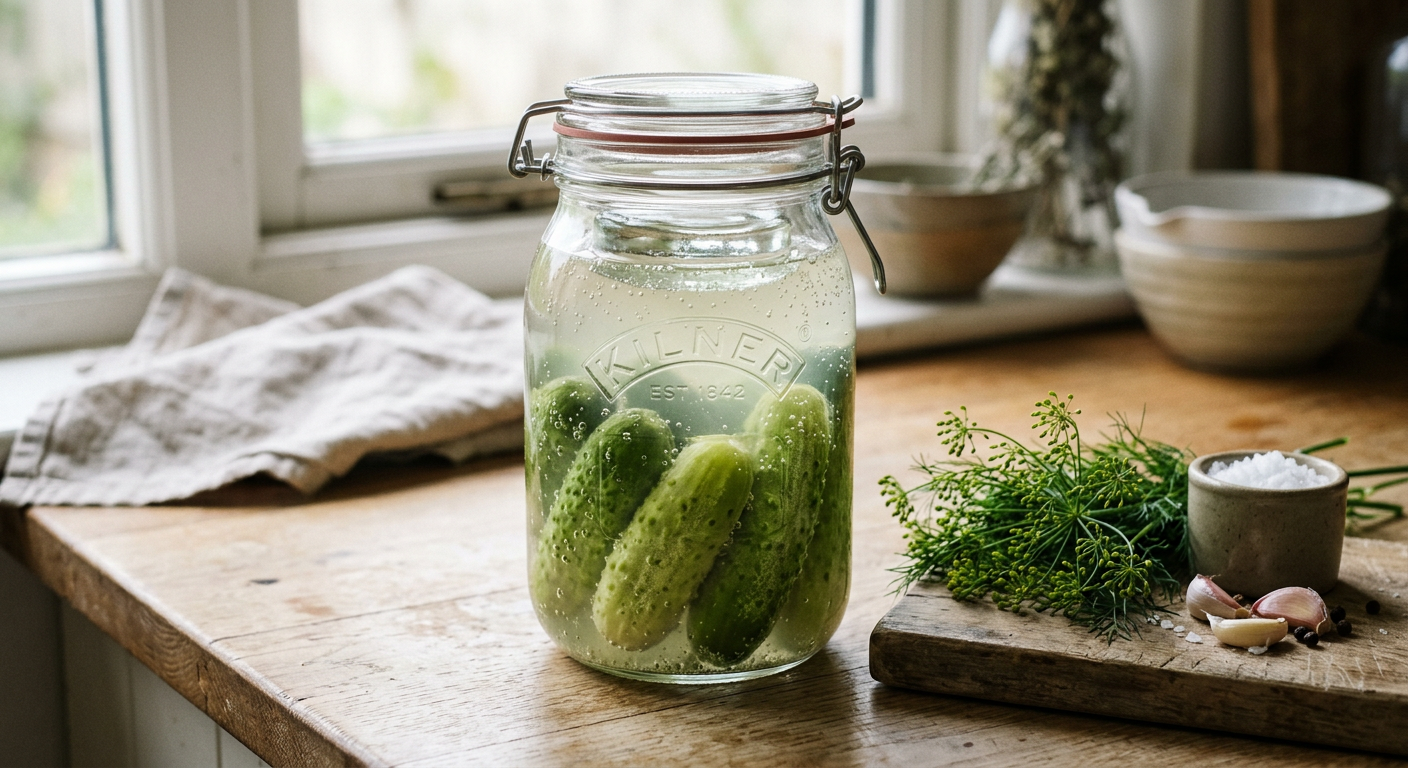
- Kilner or preserving jar – A standard 750 ml or 1 litre jar works. If you’re watching the budget, an IKEA KORKEN jar (roughly £5–£7) does the job just as well.
- Fermentation weight – A glass weight, a clean stone, or a cabbage leaf (cut into a square) to keep the cucumbers under the brine.
- Optional flavour boosters – Garlic cloves, a few peppercorns, a slice of ginger, or a small chilli for heat.
The honest answer is, you don’t need a fancy Weck or a specialised fermenter to get a great result. A simple glass jar and a weight are worth its salt for a beginner.
How Do I Keep My Fermented Pickles Crunchy?
To keep your pickles firm and crunchy, you need to halt the enzyme activity that causes softening right at the start. Enzymes released during slicing quickly break down pectin, which is the fibre giving cucumbers their snap.
- Ice‑water soak – Place the sliced cucumbers in a bowl of ice water for 1–2 hours. The cold shock tightens the cell walls, preserving that crisp bite.
- Grape leaf trick – Tucking a fresh grape leaf (or any leaf with tannins, like oak) into the jar creates a mild tannic environment that further firms the veg. It’s optional but incredibly effective – I once thought I’d ruined a batch, only to discover the leaf was the missing piece.
Pro tip: If you’re short on time, a quick 30‑minute chill in the fridge works too; just remember the longer the soak, the crunchier the result.
Step‑by‑Step: Making Lacto‑Fermented Pickles
- Prepare the cucumbers – Wash, trim the ends, and slice to your liking (spears or rounds). Dump them straight into a bowl of ice water for the soak mentioned above.
- Pack the jar – Drain the cucumbers and layer them tightly in the Kilner jar. Toss in a peeled garlic clove, a few peppercorns, and, if you like, a thin slice of chilli for a subtle kick.
- Make the brine – Dissolve 20 g of sea salt in 1 l of water (≈5% salinity). Stir until fully dissolved; the salty taste should be noticeable but not overpowering.
- Submerge – Pour the brine over the cucumbers, ensuring they’re covered by at least 1 cm of liquid. Leave a centimetre of headspace at the top of the jar.
- Weight it down – Place your fermentation weight or cabbage leaf on top of the veg to keep everything under the brine.
- Seal loosely – Screw the Kilner lid on just enough to keep dust out but loose enough for gases to escape, or fit a dedicated fermentation airlock.
- Ferment – Store the jar at room temperature (15–20 °C). In summer, this means 3–5 days; in winter, give it 5–7 days. You’ll see bubbles forming – that’s the good bacteria doing their job.
To get crunchy, tangy lacto‑fermented pickles in a UK kitchen, start with proper pickling cucumbers, soak them in ice water for an hour, then pack them in a clean preserving jar with garlic and spices. Dissolve 20 g sea salt per litre of water, pour over the veg, keep everything submerged with a weight, and let the jar sit at 15–20 °C for 3–7 days, burping daily. The result is a crisp, naturally fermented snack free from vinegar, perfect for enjoying as a side or snack. Always follow general food safety guidelines for home fermentation, such as those provided by the Food Standards Agency (FSA).
Fermentation Time & Storage (UK Climate Guide)
- Timing: In a warm July kitchen (around 22 °C) the brine will turn the cucumbers in 3–5 days. Cooler months (10–12 °C) need a full week.
- The “burp” check: Open the lid once a day for the first three days. You’ll hear a gentle hiss and see bubbles – a sign the lactobacilli are thriving.
- Summer mould alert: High humidity can encourage surface mould. If you spot white, fuzzy growth, it’s usually harmless kahm yeast – skim it off and keep going. Black or green mould means the batch is spoiled; discard it and start again.
- Refrigeration: Once the pickles have reached the flavour you like, move the jar to the fridge. The cold halts further fermentation, and the pickles will keep for 2–3 months, getting a little sharper over time.
Summer tip: Place the jar on a kitchen shelf away from the stove’s heat, and cover the top with a clean cloth before the lid. It reduces airborne spores that love a humid summer night.
Troubleshooting: What If My Pickles Go Bad?
- Mould: White, creamy foam (kahm yeast) is harmless – just skim it off. Any black, green, or coloured mould is a red flag; the safest move is to bin the batch.
- Soft pickles: Usually caused by using the wrong cucumber or not soaking in ice water. Salt under‑strength can also let enzymes run wild.
- Bloating or excess pressure: Happens if the lid is sealed too tightly or if you added sugar or fruit. Loosen the lid or use a proper airlock, and keep the jar at a cooler spot.
Decision tree:
- Is there mould?
- Yes, coloured → discard.
- Yes, white → skim, continue.
- Are the cucumbers limp?
- Yes → check cucumber type, ensure ice‑water soak.
- Is the brine bubbling excessively?
- Yes → loosen the lid, release gas.
Frequently Asked Questions
Can I use a standard Kilner Clip‑Top jar?
Yes, you absolutely can – just make sure you don’t clip it fully shut during fermentation. The vegetables will release gas, so you need to leave the clip loose enough for that pressure to escape, or you’ll end up with a mess. You can also fit a dedicated fermentation airlock if you have one.
What salt should I use?
Always go for a non-iodised sea salt or fine Himalayan pink salt. Regular table salt often contains iodine and anti-caking agents, both of which can interfere with the beneficial bacteria and slow down your fermentation. It’s not worth the risk for a few pence saved.
How long do they last?
Once you’ve moved your jar to the fridge, these lacto-fermented pickles will happily keep for about 2–3 months. They tend to get a little sharper and more complex in flavour the longer they sit, which many people actually prefer.
Why are my pickles floating?
It’s completely normal for cucumbers to float a bit, as they’re less dense than the brine. The crucial thing is to keep them fully submerged using a weight or even a clean cabbage leaf. Anything exposed to air above the brine is at risk of mould.
Do I need vinegar?
No, not at all! The beauty of lacto-fermentation is that the salt and time naturally create an acidic environment. Adding vinegar would just shortcut the delicious, complex flavour development you’re aiming for with true fermentation.
Fermentation Time Guide
| Season | Temperature | Fermentation Time | Action Required |
|---|---|---|---|
| Summer | 15–20°C | 3–5 days | Check daily for bubbles |
| Summer | 22°C | 3–5 days | Burp jar once daily |
| Winter | 10–12°C | 5–7 days | Check daily for bubbles |
| Post-Ferment | Fridge | 2–3 months | Store in airtight container |

Where to Go From Here
You now have the full recipe, the science behind the crunch, and the safety checks to keep mould at bay on a damp British summer. The only thing missing is you giving it a go in your own kitchen. When you’re ready to nail the brine ratios and double‑check your equipment, download the Free Fermentation Starter Checklist – it’s a handy cheat‑sheet that walks you through each step, from salt measurement to daily burping.
If you hit a snag, swing by the comments or drop us a line; we love hearing about first batches (and the occasional “I forgot to burp” story). For more tips and tales from my kitchen, check out the rest of the blog. Happy fermenting, and may your jars stay crisp, tangy, and proudly British.
Related Guides
For a complete overview, see our Sauerkraut, Kimchi & Pickles: UK Beginner Recipes.
Sources & Further Reading
- Food Standards Agency (FSA)
- Fermentation Association
- Royal Horticultural Society (RHS)
Note: General guidance only, verify details with a qualified professional or official source.