3 Fermented Dips & Spreads You Can Make in a Kilner Jar
As an Amazon Associate I earn from qualifying purchases. This page contains affiliate links — if you buy through them, I earn a small commission at no extra cost to you.
Making your own fermented dips and spreads is one of those kitchen tricks that seems fancy but is actually dead simple. You don’t need special cultures or expensive gear—just a few standard ingredients, a jar, and a bit of salt. I’ve been making them for years, partly to jazz up a cheese board and partly because it’s a great way to use up wilting herbs or that last handful of olives. I’ll walk you through three easy recipes: a tangy cashew ‘cheese’, a punchy olive pâté, and a fermented hot sauce. By the end, you’ll have a batch of flavourful dips that are a bit of a brag-right.
How Do I Ferment Dips Safely?
Fermenting soft spreads safely comes down to two golden rules: maintaining a reliable salt barrier and ensuring everything stays under the brine. This creates the perfect environment for beneficial lactic acid bacteria to thrive, keeping spoilage microbes at bay. A 2-3% salt solution is typically spot on for most dips, inhibiting unwanted bacteria without making your spread too salty.
The second rule is simple but often ignored – the surface must stay submerged. When a dip sits exposed, mould loves the air pocket and can quickly turn a promising batch into a wasted jar. A quick trick I learned the hard way: after blending my first cashew cheese, I left it uncovered for a night and woke up to a fuzzy white bloom. I scooped it off, but the whole jar was ruined. From then on I always pack the dip tightly into a clean Kilner jar, smooth the top, and press a small piece of parchment paper directly onto the surface before sealing.
If you ever spot mould on the surface, scoop it off and refrigerate immediately – the rest is still safe. If mould has permeated the whole dip, it’s best to bin it.
Fermented dips are safe if you maintain a salt barrier and keep the surface submerged.
For a deeper dive on safety, see my guide on How to Ferment Vegetables Safely.
Now that the basics are sorted, let’s get our hands dirty.
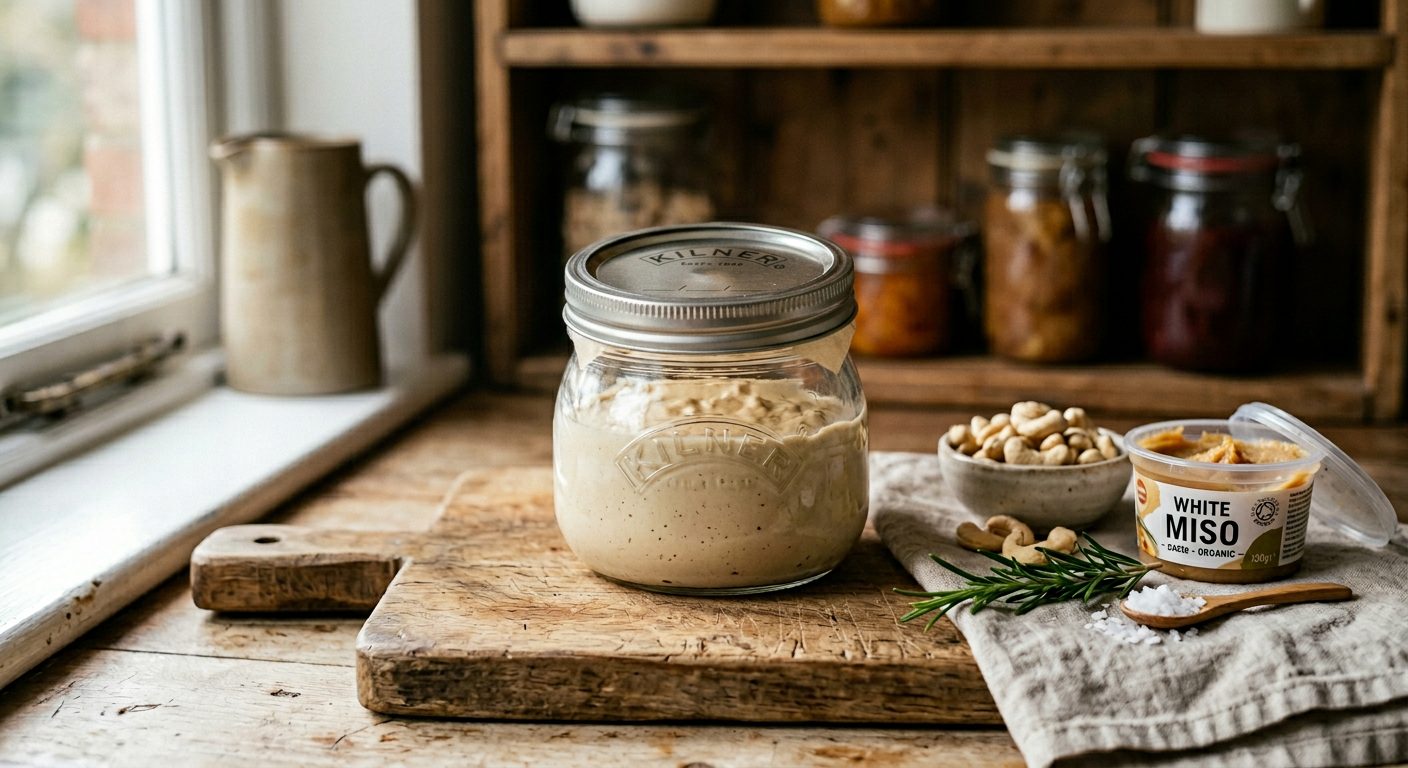
Recipe 1: The “Cheese” Style (Cashew & Miso)
Ingredients
- 150 g raw cashews (soak in warm water for 15 min)
- 2 tbsp white miso (shiro miso) – you’ll find it in the world foods aisle at Tesco for roughly £3‑£4 a 200 g tub
- 1 tbsp lemon juice (fresh is best)
- 1 small garlic clove, peeled
- 1 tbsp nutritional yeast (optional, for a cheesy note)
- ½ tsp sea salt (Maldon flakes work well)
Method
- Drain the soaked cashews and toss them into a food processor.
- Add miso, lemon juice, garlic, nutritional yeast and salt. Blitz until ultra‑smooth, scraping the sides as you go.
- Transfer the paste to a sterilised 500 ml Kilner jar. Press it down so there are no air pockets, then smooth the top and lay a small piece of parchment paper on the surface. Seal the lid loosely – you’ll need to “burp” the jar once a day for the first 24 hours.
- Leave the jar at room temperature (around 18–20 °C) for 24–48 hours. The longer you let it sit, the deeper the flavour and the more pronounced the tang.
Why This Works
Miso brings live cultures that kick‑start the fermentation, while the cashews supply a creamy matrix that keeps the bacteria happy. The lemon juice adds acidity, which not only brightens the taste but also adds an extra layer of safety by lowering pH.
Serving Suggestion
Spread on oat crackers, dollop onto cucumber slices, or melt gently over roasted veg for a quick, savoury topping.
A quick note on miso: White Miso (shiro miso) is milder and slightly sweet, perfect for a subtle cheese flavour. Red Miso (aka miso) packs a deeper, saltier punch – use it if you want a richer, stronger dip.
Budget alternative: If you’re not ready to spend £15‑£25 on a premium Kilner set, a simple IKEA KORKEN jar (around £5) does the job just fine – just make sure the lid seals tightly. For more tips on getting started without breaking the bank, check out my other fermentation adventures.
Recipe 2: The “Pâté” Style (Olive & Bean)
Ingredients
- 200 g canned cannellini beans, drained and rinsed (roughly £0.80 a can)
- 80 g pitted green olives, roughly chopped
- 1 tbsp capers, rinsed
- A handful of fresh parsley and a few sprigs of thyme, roughly chopped
- 2 tbsp extra‑virgin olive oil (use a decent brand, about £6 for a 500 ml bottle)
- ½ tsp sea salt
Method
- Rough‑mash the beans in a bowl – I like using a sturdy wooden spoon for that rustic texture.
- Stir in the olives, capers, herbs and salt. The olives release a little oil; add the extra‑virgin olive oil to bring it all together.
- Pack the mixture tightly into a clean Kilner jar, pressing down so the surface is level. Top with a thin drizzle of olive oil – this creates a protective seal that keeps the dip under the brine.
- Seal the jar loosely and leave at room temperature for 2–3 days. Give it a gentle shake each day to redistribute any liquid that rises.
Serving Suggestion
Spread on sourdough toast, use as a base for veggie burgers, or serve alongside pickled onions for a hearty snack.
Recipe 3: The “Chutney/Sauce” Style (Fermented Hot Sauce)
Ingredients
- 150 g mixed chillies (e.g., red jalapeños and green bird’s eye), stems removed
- 1 inch piece fresh ginger, peeled
- 2 garlic cloves, peeled
- 1 tbsp sea salt (2% of total weight)
- 100 ml apple cider vinegar (for the brine)
- 50 ml water
Method
- Rough‑chop the chillies, ginger and garlic. Toss with salt and let sit for 20 minutes – this draws out moisture and starts the fermentation.
- Transfer the mixture to a clean jar, pressing it down so the liquid released forms a brine. Add the water and top up with apple cider vinegar until the vegetables are fully covered.
- Seal the jar with a regular lid, then place a small fermentation weight or a clean stone on top to keep everything submerged.
- Store the jar in a cool, dark cupboard for about a week. Taste after 5 days – if it’s too sharp, move it to the fridge to slow the process.
Serving Suggestion
Drizzle over roasted cauliflower, stir into a bean salad, or use as a fiery dip for naan.
Troubleshooting: What to Do When Things Go Wrong
- Mould on the surface: If it’s a white, fuzzy growth, scoop it off and keep the rest. If you see coloured mould or it’s spread throughout, toss the batch.
- Too salty: Dilute with a splash of water or extra lemon juice; the flavour will balance out after a day in the fridge.
- Too sour: That’s the truth of fermentation – the bacteria are doing their job. Pop the jar into the fridge early to halt further acid development.
- Watery texture: Soft dips release water as they ferment; simply stir the brine back in or drain a little if you prefer a thicker spread.
Storage Guide: How Long Do They Last?
- Room temperature: Only for the first 1–3 days while bubbling subsides.
- Refrigerator: Most fermented dips keep well for 2–4 weeks, staying tangy and safe.
- Freezer: Not recommended for creamy spreads – the texture gets grainy – but a pesto‑style dip will survive for up to three months.
For the best seal, I stick with a Kilner Fermentation Jar Set (paid link), but the IKEA KORKEN works as a budget alternative if you’re watching the pennies. If you’re curious about my own fermentation journey and why I swear by certain bits of kit, you can read more about me.
Frequently Asked Questions
Can I use dairy for fermented dips?
While you can ferment dairy to make things like labneh or kefir, I generally steer beginners towards vegan fats like cashews or olives for dips. Dairy ferments can be a bit more temperamental and have a higher risk of spoilage if not handled just right, so the plant-based options are usually more predictable and safer to start with.
Why is my dip watery?
It’s completely normal for your dip to release some water during fermentation – that’s just the brine doing its job. This liquid actually carries a lot of flavour, so I usually just stir it back in. If you prefer a thicker dip, you can always drain a little of the liquid before serving.
Do I need special equipment?
Absolutely not – no fancy, expensive gear is required to make great fermented dips. All you really need is a clean Kilner jar (or even a recycled jam jar), a loose-fitting lid, and something simple to keep the surface submerged, like a small, clean stone or a piece of parchment paper. The key is simply keeping everything under the brine.
How do I know if it’s safe to eat?
Always trust your senses. A safely fermented dip will smell pleasantly tangy, a bit like sourdough or a good artisanal cheese, with a slightly ‘funky’ but inviting aroma. If you see any coloured mould (not just white kahm yeast) or if it smells genuinely rotten, foul, or like nail varnish remover, then it’s best to bin it immediately. When in doubt, throw it out.
Can I speed up fermentation?
Yes, you can gently speed things up a bit. Placing your jar in a slightly warmer spot, around 22°C, will encourage the bacteria to work faster. You could also add a pinch of live whey (if you’re not vegan) from plain yogurt to introduce extra cultures. Just make sure to taste it regularly so it doesn’t get too sharp for your liking.
Fermentation Timeframes
| Spread Type | Fermentation Time | Temperature | Texture Change |
|---|---|---|---|
| Cashew & Miso | 24–48 hours | 18–20°C | Creamy, tangy, deeper flavour |
| Olive & Bean | 2–3 days | Room temp | Rustic, slightly firmer |
| Fermented Hot Sauce | 5–7 days | Cool, dark cupboard | Fiery, reduced volume |
| Storage (Refrigerator) | 2–4 weeks | 4°C | Stays tangy and safe |
| Storage (Freezer) | Up to 3 months | -18°C | Pesto-style dips only |
Where to Go From Here
You now have three versatile, beginner‑friendly recipes that turn ordinary pantry staples into flavour‑packed, fermented spreads. The honest answer is, the more you experiment, the better you’ll understand how your kitchen’s temperature and the amount of salt affect the final taste. Keep a notebook, note the days you ferment, and don’t be afraid of a little fizz – that’s the good bacteria at work.
Ready to make sure your first batch is spot on? Download the Free Fermentation Starter Checklist – it walks you through sterilising jars, measuring salt and spotting the signs of a happy ferment.
Happy fermenting, and may your dips be ever tangy, creamy and mould‑free.
Related Guides
For a complete overview, see our UK Fermented Condiments & Creative Ways to Use Them.
Sources & Further Reading
- NHS - Food Safety Advice
- Food Standards Agency - Food Hygiene
- Real Food Magazine - Fermentation Guide
As an Amazon Associate I earn from qualifying purchases. The products linked above are ones I would use or recommend on my own camps.
Note: The information provided above is for general guidance only. Always verify specific safety guidelines and fermentation techniques with a qualified professional or official source.