How to Sterilise Jars for Fermentation (The Method That Actually Stops Mold)
As an Amazon Associate I earn from qualifying purchases. This page contains affiliate links — if you buy through them, I earn a small commission at no extra cost to you.
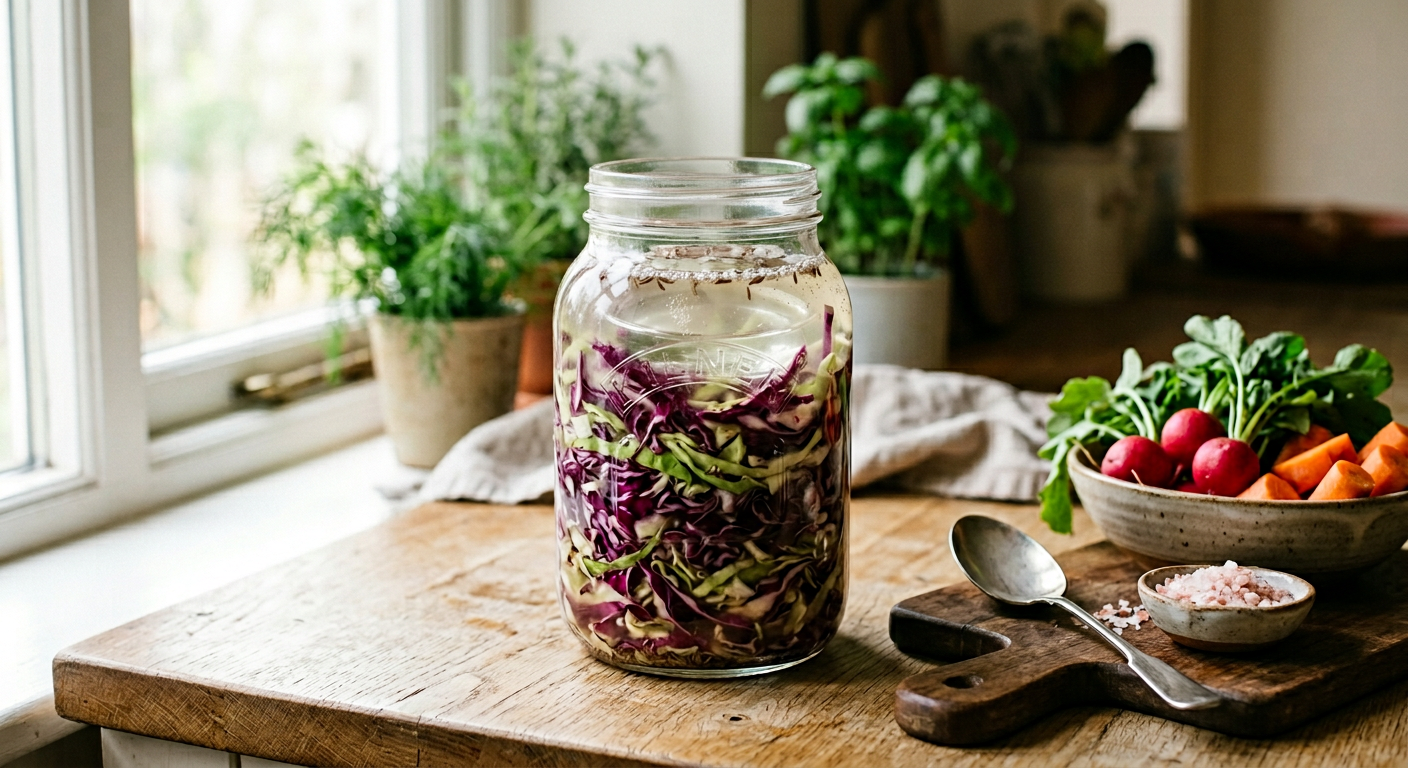
You’ve just unpacked a new Kilner jar, and the big question looms: does it need more than a quick rinse? Absolutely. The worry of mould or a batch going ‘off’ is real, but keeping your fermentation equipment clean and safe is simpler than you think. You don’t need a chemistry degree, just a few tried-and-tested methods to ensure your jars are ready for those good bacteria to thrive.
Why Isn’t Washing Enough for Fermentation Equipment?
A quick scrub with dish soap isn’t enough because while it removes visible dirt and grease, it leaves behind a hidden army of microscopic microbes, spores, and biofilm clinging to the surface. Those microscopic survivors can out‑grow the lacto‑bacteria you actually want on your cabbage, leading to off‑flavours or, in the worst case, spoilage.
| What it does | What it leaves behind | |
|---|---|---|
| Soap & water | Removes dirt and grease | Tiny bacteria, spores, and biofilm |
| Sterilise (boil/chemical) | Kills all living microbes | Clean, inert surface ready for “good” bacteria |
When you’re fermenting vegetables, you’re trying to give the beneficial lacto-bacteria (which are already on your veg) the best possible head start. Unwanted microbes lurking in your jar can quickly outcompete them, leading to off-flavours, a slower ferment, or even spoilage. Sterilising provides a clean slate, ensuring only the ‘good’ guys get a chance to do their work, resulting in a safe and delicious ferment every time. The honest answer is, you need a step that guarantees every unwanted microbe is dead – that’s what sterilising does.
I learned this the hard way when I once washed a jar, left it to air‑dry on the bench, and later found a faint sour smell that wasn’t the brine. Turns out a stubborn biofilm had survived the rinse and gave the batch a funky tang. After a proper boil, the problem vanished.
If you’re ready to turn those clean jars into a batch of sauerkraut, check out our How to Make Sauerkraut guide.
The “Boiling Water” Method (Best for Glass)
Boiling is the simplest, chemical‑free way to sterilise your Kilner, Weck, or any other glass fermenter.
- Wash the jar and lid in hot, soapy water. Use a butter knife or a clean brush to scrape away any food bits – it fits nicely in a standard jar mouth.
- Rinse thoroughly; any soap residue can affect the brine’s taste.
- Submerge the jar (lid separate) in a large pot of water. Make sure the water covers the jar by at least an inch.
- Boil for 10 minutes. If you’re using a rubber seal on the lid, leave the seal out of the pot – boiling it will shrink the rubber and it won’t snap back properly.
- Cool the jar on a clean towel before handling. Hot glass can shatter if you set it on a cold surface.
Safety tip: Use oven mitts when lifting the jar out of the pot; the glass is fragile when hot and can crack if you drop it.
A friend of mine once boiled a jar with its rubber seal still inside. The seal shrank so much that it never sealed properly again, and every batch he made after that leaked. Lesson learned – keep the seal out of the boil.
For a quick look at the best jars for beginners, see our Best Fermentation Jars page.
The “Chemical” Method (Best for Plastic)
Plastic buckets are great for larger batches, but they don’t love a good boil – the heat can warp the sides and damage the sealing rings. Food‑grade sanitiser is the way to go.
Milton (or Aldi Mamia) Sterilising Fluid
- Mix 1 L of cold water with 50 mL of Milton Sterilising Fluid (paid link) (the same formula you’ll find in most UK supermarkets).
- Immerse the bucket, lid, and any accessories for at least 2 minutes.
- No rinse needed – Milton is designed to be left in place, and it won’t affect flavour.
Soda Crystals (Sodium Carbonate)
- Dissolve 2 tablespoons of soda crystals in 1 L of boiling water.
- Submerge the plastic bucket for 5 minutes.
- Rinse thoroughly with boiled water (cooled) to avoid any mineral taste.
I tried using ordinary household bleach once, thinking it would be a cheap alternative. The bucket ended up with a faint chlorine aftertaste that lingered through the whole ferment – not pleasant at all. Stick to food‑grade products; they’re a bit pricier (roughly £5–£8 for a litre of Milton) but worth the peace of mind. For more tips on choosing the right tools, check out our blog.
Budget note: Aldi’s Mamia Sterilising Fluid works the same as Milton and usually costs a few pounds less – a solid pick if you’re watching the pennies.
UK Tap Water: Safe or Not?
UK tap water is generally safe to drink, but for fermentation it’s a different story. Chlorine is added to municipal supplies to keep the water microbiologically sound, yet that same chlorine can suppress the lacto‑bacteria you rely on.
- Boil the water for at least 10 minutes. This kills any stray microbes and evaporates most of the chlorine.
- Cool before adding to your brine – hot water will cook the veggies and change texture.
- Alternative: Let tap water sit uncovered in a wide bowl for 24 hours; the chlorine will dissipate naturally.
I once used unboiled tap water straight from the tap in a kimchi batch, and the fermentation stalled after the first day. A quick boil solved the problem and the kimchi finished beautifully. If your vegetables aren’t bubbling after 24 hours, check the water first.
According to the Food Standards Agency (FSA), properly boiled water eliminates the risk of chlorine-related fermentation slowdown, making it the safest, most reliable choice for home fermenters. You can find more of their guidance on food safety here.
Troubleshooting: Cloudy Jars vs. Mold
A cloudy brine can feel alarming, especially when you’re waiting for that crisp snap. The truth is, cloudiness is often a sign that the right microbes are doing their job.
- Leuconostoc bacteria produce a milky, slightly sour film on the surface – this is perfectly normal in the early stages of sauerkraut or kimchi.
- Kahm yeast appears as a thin, white, sometimes slightly fuzzy layer on the brine’s surface. It’s harmless but can give a yeasty flavour if left unchecked.
- Mould is anything fuzzy that’s green, black, pink, or brightly coloured, and it penetrates the brine rather than floating on top. If you see this, discard the batch – it’s not worth the risk.
A reader once emailed me after finding a white ring on the rim of their jar. They panicked, thinking it was mould. In reality, it was a thin kahm yeast film that formed because the lid wasn’t sealed tightly enough. A quick “burp the jar” and a tighter seal solved it, and the ferment continued without issue.
If you ever spot a fuzzy, coloured growth, the safe move is to toss the batch. As the FSA points out, mould can produce mycotoxins that aren’t destroyed by heat. For detailed advice on identifying and managing food spoilage, their guidance on food safety is a valuable resource.
Frequently Asked Questions
Can I put my fermentation jar in the dishwasher?
Yes, but only for glass jars. The high heat can warp plastic lids and degrade rubber seals. Hand‑washing the lid and sealing ring is still the safest route.
Is it safe to use bleach to sterilise jars?
No. Standard household bleach is too harsh for food contact and can leave toxic residues. Stick to boiling water for glass or food‑grade sanitiser for plastic.
Do I need to sterilise the vegetables?
No. The natural bacteria on the veg are the starters you want. Just give the jar a proper clean – the veggies will do the rest.
Can I use tap water directly from the tap?
Boiling it first is the safest bet. If you must use it straight, let it sit uncovered for 24 hours to let the chlorine evaporate, but expect a slower start.
What is Kahm yeast?
It’s a harmless, white, sometimes fuzzy growth that forms on the surface of the brine. It doesn’t make you sick, but it can add a yeasty note. A tighter seal or a quick “burp” usually keeps it at bay.
Cleaning Methods Comparison
| Method | Best For | Key Action | Result |
|---|---|---|---|
| Soap & Water | Light cleaning | Scrub and rinse | Removes dirt but leaves microbes |
| Boiling Water | Glass jars | Submerge and boil 10 mins | Kills all living microbes |
| Food-Grade Sanitiser | Plastic buckets | Immerse for 2 mins | Kills microbes without heat damage |
| Soda Crystals | Plastic buckets | Dissolve and soak 5 mins | Cleans and sanitises plastic |
| Boiled Water | Brine | Boil 10 mins | Removes chlorine and microbes |

Where to Go From Here
You now have the three core steps to a clean fermenting environment: wash, sterilise, and keep an eye on the brine. Remember, a boiled jar for glass, a food‑grade sanitiser for plastic, and boiled tap water for your brine are the basics that keep mould at bay and let the good bacteria thrive.
If you’re ready to put this knowledge into practice, the next logical step is to download our Free Fermentation Starter Checklist – it walks you through every piece of equipment, ingredient, and timing check you need before you even start your first jar. Grab it here: Download the Free Fermentation Starter Checklist.
With a sterilised jar, the right water, and a clear eye on cloud versus mould, you’re set to make safe, flavourful ferments that will impress the whole family. Happy fermenting, and don’t be afraid to give it a go – the only thing that can go wrong is forgetting to “burp the jar”. If you’re curious about my own fermentation journey and how I got started, you can read more about me here.
Related Guides
For a complete overview, see our Essential Fermentation Equipment for UK Beginners.
Sources & Further Reading
- Food Standards Agency (FSA) - Food Safety Guidance
- National Centre for Biotechnology Information (NCBI) - Lactic Acid Bacteria
- Royal Society of Chemistry - Food Chemistry
As an Amazon Associate I earn from qualifying purchases. The products linked above are ones I would use or recommend on my own camps.
Note: This guide provides general information on sterilising fermentation equipment. Always follow the specific instructions provided by your equipment manufacturer and consult a qualified professional for medical or health-related advice.